Tuesday, 2 July 2013

POST 58 - JULY 2013 - A POST IN TWO PARTS

This post will be in two parts, this being the first. The second part will be completed on my return from Poole, Dorset to finally get to meet the cars first owner.  All being well this will happen on Thursday 4th July and I'll write up the visit over the coming weekend if not sooner.

My original plan was to make the 700 mile round trip the cars first major outing but a few well chosen comments from trusted associates made me think again.  The one that brought it home the most was to do with the point where bravery becomes foolishness.  I can't afford to miss this opportunity of meeting up with first owner Vernon Maitland OBE and with just 200 or so virtual miles on the clock (actually the speedo doesn't yet work because the cable end wont fit into its drive) the likelihood of having a trouble free drive down to Poole is probably less than 50%.  It still feels to me like a cop out but I must say that since taking the decision to trailer it most of the way my stress levels have reduced significantly.

As to the future of this blog now that the project is virtually complete, well, I still have a good deal of stuff to finish off, in particular the electric water pump project and some further work on the indicators and other electrical odds and ends.  The only difference is that the pace will be a little more relaxed but I still expect to be putting up a fortnightly post probably until autumn.

TRIP TO POOLE, DORSET
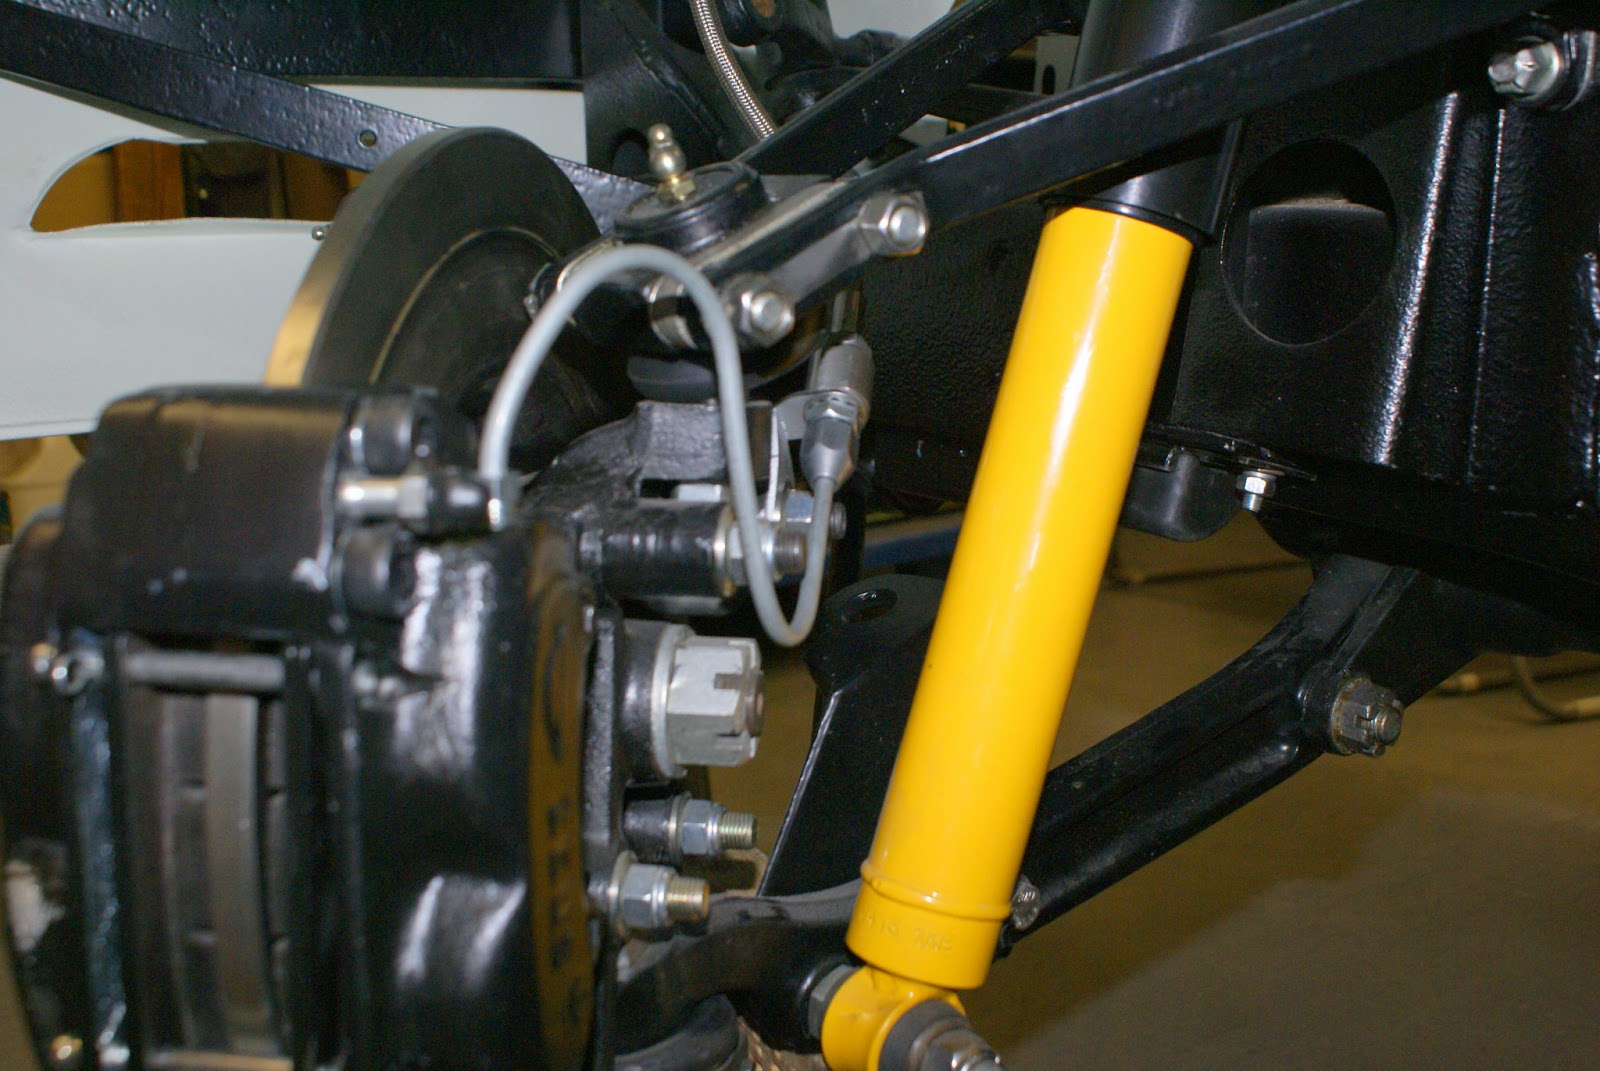
With an intended ETA in Poole of noon it meant an early 5.00am start for the 340 mile trip from North Yorkshire to the south coast.   I had driven the car over to friend Geoff's home the previous day, a distance of around 20 miles and even on this short trip a few gremlins appeared.  The drivers side rear corner seemed to have dropped an inch or so.  The gear lever had developed a sort of rubbery feel and in spite of great efforts to balance the wheels a distinct vibration could be felt at anything over 55MPH.  In some ways this was good as it validated the idea that driving around 700 miles without a few advanced shakedown trips would have been foolish.
Knowing that we could unload the car next to Vernon Maitlands home in Poole I was not too concerned about these minor problems so drove the car straight in to Geoff's very posh car transporter.  Worth mentioning that on the way over, my friend following in his BMW was showing 80MPH when I was showing 2500RPM  It will be interesting to see what the satnav says when I get around to checking.  My calculations indicated 71MPH at 2500 so either the Beemers speedo is wrong or my calcs are.  I'll let you know.  Also worth an article in its own right is the wheel balancing saga but as it is not yet fully played out, I'll save it for a future post.

By 11.00am we were about 18 miles from our destination with the Land Rover Discovery passing a string of HGV's on a fairly steep motorway gradient.  With cruise control engaged and the whole caboodle weighing I would guess around  four tons it proceeded to rapidly change down through the auto box in order to maintain its cruise controlled speed.  The rev counter whizzed round with each down change, then a warning light flashed and it went into limp mode.  We made a few attempts to un-crash whichever processor we had so badly upset but it would have none of it so we limped the final few miles to Vernons where the Land Rover Service man would meet us and hopefully sort it out.

Well met by Vernon's wife Monika and newly wed daughter Amber and Husband, Vernon quite a tall chap and very sprightly for I would guess 87 years had no problem climbing in and re-acquainting himself with his car (oddly I do still think of it as his car)

Vernon quickly at home

It was extraordinary to hear Vernon recall so many details about the car, how he came to buy it, with a good friend Alec Anderson buying one a little earlier, and registering it as KRU500, but it had to stay in Henley's showroom for quite some time because it was the very first one delivered to that branch.  Exactly what strings were pulled to extract a pair of early RHD 120's from Browns Lane I never did establish.  Vernon and friend Alec spent some fun time driving round Silverstone and from my initial searches on the cars history I just happen to have a fabulous photo of KRU500.  Its actually got a note on the back saying  'Happy Christmas - Silverstone 1950 - 100MPH - What Ho'  Does this car still exist - it's not on any XK data forum as far as I know. KRU600 was sold a year or so later generating a significant windfall profit, apparently due to a massive increase in vehicle purchase tax.
KRU500 - Alec Anderson - Silverstone 1950

KRU600 - Vernon Maitland - Exeter Trial New Years Day 1951

And zoom in - note hand position on steering wheel

4th July 2013  -  An amazing sixty plus years separate these two photos

Vernon with wife Monika

And finally a rare picture of a normally camera shy me with Vernon
Vernon and Monica live in Florida and only spend a few weeks each summer in the UK.  They will be leaving early next week and as Vernon says, as an octogenarian it becomes increasing difficult to look ahead, hence the need to ensure my commitment to meet up was discharged.

Fantastic view from Vernon,s balcony overlooking Poole harbour
Geoff signs off the warranty repair which mainly involved telling it that it only thought it was broken
The Jaguar / Land Rover service guy eventually arrives and plugs in his lap top.  Apparently the problem lay in some previous hiccough coupled with today's mishap.  He clears the fault, downloads a software upgrade and we're good to go.  I try to get him to pose with his laptop appearing to be plugged into the XK, it is after all a Jaguar, but he declines.   The irony of using a new Jaguar Land Rover product to get us there, as a pose to a rather older one, in order to mitigate the need to call for assistance is not lost on this very courteous and professional representative of the brand.

On the way back to my workshop, son Dan followed me in his Aston Martin Cygnet which he tells me he's pimped up and converted to a ''duckling' by fitting a Toyota iQ grill and binned the leather seats in favour of cooler cloth.  Trouble is, they won't let him join the AM owners club now.   In 5th gear I raise my hand at 2000 and 2500RPM and he tells me I was doing just short of 65 and then exactly 80 so I need to look again at my gearing calculations spreadsheet. This super high 5th gear felt perfect for dual carriageway cruising and had no problem whatsoever coping with any of the typical main road gradients encountered.

Next post mid July

Tuesday, 18 June 2013

POST 57 - JUNE 2013 - APPEARS TO BE FINISHED

When I started this project in April 2011, it seemed perfectly normal to spend some time estimating how long it would take and then to extrapolate a finish / completion date.  After all, that is exactly what I had done for numerous work related projects for the past twenty odd years.
Having fully retired at the end of January and with goodness knows how many potentially empty days ahead of me, it now seems like not such a good idea.  But I had made a point over the past couple of years that completion was scheduled for my 65th birthday on June 16th this year.  In addition to this, I now have a firm date of July 4th to get the car down to Poole in Dorset to meet up with it's first owner, Vernon Maitland.  This is such a incredibly rare opportunity that it must not be missed at any cost, so the last couple of weeks have been hectic.

Start and finish dates with schedule and reminders in between
The door gaps had been set up about a year ago, first with the body on a jig / frame then with it on the chassis on axle stands.  After a short run up and down the estate road it was clear that it had settled from those initial positions and the gaps had closed a little .  Putting it back on axle stands, each pair intentionally well in from the wheels, the door gaps were again correct, or even a little wider than required.

Door gap with chassis on axle stands well in from wheels

and with car back on it's wheels
I had already had the maiden voyage planned as a short trip of around ten miles to Autob-bodycraft to resolve the problem of the damage caused when I fitted the windscreen, so a re-shimming exercise was added to the list to correct the door gap issue.

The only other items to be sorted before the inaugural trip were the windscreen wipers and security bonnet catch.  I had pondered the possibility of a leather bonnet strap but was undecided about how they look.  One thing is certain though, with a strap over the front, there is absolutely no chance of the bonnet misbehaving so pragmatism wins out.  I order one from Guy Broads; its the type with two buckles which means that if you undo them both, you don't have the problem of the metal bits scratching the paint.  I'm also told that they are lined with soft Elk Skin which is less likely to scuff. Really?


With the central bit removed - no buckles to scratch paint
The car actually came with a pair of wiper arms and blades but the way the blades were attached to the arms was unusual and certainly not as original, but the arms looked to be of super quality and stainless so worth using if at all possible.  Fortunately I have an arm off my 140 as a pattern for the spoon bit that slips into the blade.  I manage to remove the strange clip affair which leaves a dimensionally correct straight end that just needs bending to the correct shape.  After heating to cherry red its bent round an old socket and after a bit of tapping about it looks pretty good and slips into the blade just as it should. 

140 arm end          120 pre mod              120 post mod
 After a few more very short runs I felt sufficiently confident to go for it, but only with my Audi following, full of tools and various get you home odds and ends.  I can remember every single first outing I've made with cars I've restored in the past and in particular driving a Morgan rolling chassis from Faceby to Stokesley (about 7 miles).  The seat was an orange box and it went and stopped but that was all.  To avoid capture by the local constabulary the journey was undertaken at round 6.00am in summer.  This felt very similar but it looked a good deal more legal.
Its always a bit scary to think of the great number of fasteners that have been removed and re-fitted knowing that some are crucial to the avoidance of pain and expense and it usually takes 500 or so miles before I start to relax and stop listening for unusual noises.
Anyway, the first 10 mile trip went very well except that half way the heavens opened.  With no hood or tonneau all I could do was to stop and take off my coat to cover the passenger seat.  (what greater love etc.)  Once moving again most of the rain went straight over the top so no great problem; a good test for the wipers which worked tolerably well.
Once at Auto-Bodycraft, the door gaps were easily sorted, and Alex came up with a solution for the nasty bit of damage I had incurred when fitting the windscreen.


A great deal of debate went into what should be done about this.  Alex wanted to repaint the whole front of the car but I wanted a very small localised repair.  This he politely refused to do saying it would always show, especially after some time.  The compromise solution was a 'patch'.


Note colour coded ground plane for DAB aerial
Now I know this sounds a little odd but it totally works, simply because, apart from it being hardly noticeable, it looks as though it should be there.  Why is it only on one side - well since you ask, actually its the ground plane part of the DAB aerial, carefully colour matched - well it could be!  I have no doubt that at some time in the future I will find a few more reasons to re-paint the front; then it can be sorted to Alex's entire satisfaction.


A great number of other small jobs including the fitting of a  tonneau cover from Aldridge Trimming occupy the remaining week which takes me nicely up to Saturday 15th June. This was always planned as it's very first show outing, I know it's a day earlier than the scheduled finish date but what the hell.  This Classic Car show is in my home town of Stokesley and less than a mile from home which even meant that I could pop back and bring the 140 along for company.

And I said I would never take it out in the rain!

So, more or less cosmetically finished, but I still have a huge list of jobs to complete before the trip to Poole.

Miscellany
You may remember that last year we did the Beamish Run in the 140, a 144 mile trial over some fairly testing moorland roads for pre 1955 cars.  It was a great day, especially as we were the overall winners out of 150 cars.  'We' in this case included passenger and friend Tony Firth who was solely responsible for our victory.  In the 140 again this year, alas Tony could not join me as he is recovering from an operation.  The results aren't out yet but I would guess that without Tony, it'll be only slightly better than a DNF.  Get well soon mate.

The following pictures were taken during the lunch stop at Bainbridge, North Yorkshire with the cars and bikes assembled on the village green


Next post early July


Sunday, 2 June 2013

POST 56 - JUNE 2013

 It must be almost a year or so since I almost completed the braking system, when due to a series of not quite correct parts being supplied with the front disc brake conversion kit, I became so frustrated with it that I abandoned it and moved on to other things.  Very conscious that sooner or later I would have to sort it, I dug out the various pipes, converters, brackets and unions that had caused me so much hassle. Clearly in the intervening year, the supplier must have driven north, broken into my workshop and swapped the offending parts for the correct ones because after a bit more head scratching I managed to more or less figure out the assembly sequence of the pipework from the chassis lug to the calliper.


Flexible pipe from chassis lug to bracket - Just look at that dust!

And solid pipe - bracket to calliper.   Really should paint shocker black
 I also swapped out the nyloc nuts initially used to fasten the discs to the hubs, for the all metal lock nuts eventually supplied with the kit.  With the system now fully assembled, I went around every union and checked for tightness before filling with brake fluid.

Brake Fluid - now there's a subject guaranteed to to start a fight at an otherwise polite meeting of mild mannered Jaguar Drivers Club members.  Silicone, Glycol, DOT 3, 4, 5, 5.1 Soft pedals, swollen seals, damaged paint work, the list of complaints and opinions goes on and on.  Having used both types over the years, with and without problems, I considered it worth the effort to spend some time researching this and eventually found what I consider to be the definitive article on the subject.
http://www.mossmotors.com/forum/forums/26292/ShowThread.aspx 
To summarise, it seems that Silicone is best in classics, especially if its an all new / re-built system with no Glycol residue to mix with.  An additional benefit and very important to me is silicone's inability to ruin a nice paint job.  So Silicone it is.

With half a litre of fluid in the glass reservoir I started by bleeding the front off side simply because I could pump the brake pedal lever by hand.  A few gentle strokes and  a minute or so later I had puddles of various sizes under almost every union.  It took a great deal of time and effort to sort this as I am wary of over tightening hydraulic fittings so just kept nipping them up a little at a time.  It would have been possible and so much easier to completely sort the breaking system at rolling chassis stage.


How on earth do you fit the Oil pressure / water temperature gauge.  I thought the 140 was difficult, but this is nigh on impossible.  The gauge must be fitted in the instrument panel and the solid oil pipe must be attached prior to attaching the instrument panel to the main dash board.  The arrangement is naff and does not lend itself to maintenance in the event of a future electrical problem behind the dash.  Also the water temperature pipe whilst thinner and more flexible is a permanent fixture to the gauge and it would take very little to damage it.  There are times when originality must be sacrificed, so Cleveland Flexible Engineering to the rescue again.  This is a fantastic operation more used to making up huge hydraulic pipes for heavy plant, but very happy and immensely helpful with smaller jobs. 

Flexible pipe to replace solid oil pressure gauge feed pipe.
Unfortunately it turned out to be a little more complicated.  I had checked the unions threads with a 3/8 UNF bolt which seemed fine. (same as the brake pipes)  On trying to attach the new pipe to the gauge it went tight after a few turns.  Checking out the male connectors on the filter and the gauge they are 3/8 but as near as I can ascertain SEI - 28 TPI (Standard English Invent-a-thread ???), not UNF 24TPI. Back to Cleveland Flexible who make up a couple of stub pipe converters.  This works out beautifully with the joint easily accessible from under the dashboard.

Stub pipe on oil pressure gauge - now accessible
Alex and Niel, the bodywork guys called in and gave me a hand to do an initial fit up of the boot lid and bonnet.  The plan is to actually drive the car to their workshop at the end of this week (6th June) where they will fine tune the fit of the hinged bits and also repair the damage I did when fitting the windscreen.  That leaves me a week to sort out a myriad of small jobs before its inaugural outing to my local Classic Car show at Stokesley on June 15th.  I then have just over two weeks to ensure it's fit enough to drive down to Poole on July 3rd to meet up with first it's first owner. 

Initial fit of bonnet - superb


Miscellany
I have two cars insured with Lancaster, my 140 and my Frog-eye sprite, both due for renewal at the beginning of June.  Lancaster are currently plugging Multi-Car policies for classics, so given that the 120 should be on the road in June, that looked like an ideal solution.  My Frog-eye cover is £121.25 and the 140 is £194.51 both including agreed valuations and the usual Legal Benefits scam at £25 a go with the classic get out clause "There must be a greater than 50% chance of recovering damages" - guess who decides that - certainly not me.  Anyway, I digress.
Reasonably assuming the 120 will be the same as the 140, insuring each car separately would give a total cost of say £440.  Quite a lot considering restricted mileages and the fact that I can only drive one at a time.  But this is where I'm bound to score with a Multi-Car policy with some handy discounts for the second and third cars.  Quotation - an embarrassing (for the poor sod who had to call me) £761.00.  But - as Jeremy Clarkson would say - it gets worse.
Obviously, the solution is to insure the 120 separately so I contact Lancaster again and ask them to quote for just that car.  No problem sir -  £960.67p.  Surely some mistake I say.  No sir that's the quote from our underwriters and is final.  OK I say, "I can insure one car for £960.67, two for £315.76 or three for £761.00.  He eventfully and very reluctantly agrees to go back to the underwriter and query it with a promise to call me back the following day.  I can honestly say that Lancaster have promised to call me back on at least six occasions and never ever have. A record that remains unblemished.
Checking with a few friends, Haggerty is recommended.  Literally fifteen minutes later I,m printing off the 120's Certificate of Insurance £276 lighter.  It could not have been easier, and the documentation produced could be a lesson in clarity to the industry.
Registration document and Insurance in hand and with no MOT or payment required, the local Post Office hands over the 120's first tax disc for forty eight years years.  Just need some brakes and lights now. (only joking)
 

The last time it was taxed was in December 1965 at a cost of Six Pounds Eight Shillings which I think would be for four months.

Almost 48 years since it's last tax disc.


Thursday, 16 May 2013

POST 55 - MAY 2013 INDICATOR SOLUTION & NUMBER PLATES

Front Sidelights / Indicators
Whilst the front sidelight / indicator combination worked in principle, it did need to be tidied up.  First off I found some BA9 lamp holders and then some very high power 1W amber BA9 base, LED's on ebay from  http://stores.ebay.co.uk/Wholesale-Xenon-Lights-Store in the USA at about £3.00 each. A short length of 1.125 inch hexagonal bar (again from ebay) had a pair of 1/4 inch slices cut off it.

Basic components for one side.  Note tiny PhotoMOS Relay

Three 10mm holes are then drilled to accommodate the lamp holders.  These are a nice interference fit and a little superglue dribbled around the sides permanently fixes them in place.

Hex bar drilled to accept 10mm OD BA9 lamp holders

Because the sidelight Cree type LED is so immensely bright, the indicator amber LEDs are nowhere near as crisp and distinct as when the side lights are off .  This is especially noticeable when viewed head on due to the narrow angles of illumination. So whats required is for the sidelight to temporarily extinguish exactly as the indicator comes on, a job for a normally closed relay.  Because the LED's draw such a small current (20mA) we can go one better and use a solid sate Photo-MOS type relay, small, very fast switching and hugely reliable. 


For those unfamiliar with the operation of such things, here's how it works :
With the sidelights on, the 12V supply is connected to pin 4 and as the relay is normally closed, the supply continues to pin 3, illuminating the white sidelight LED.  When 12 volts appears from the flasher unit, as well as going to, and illuminating the two amber LED's, it also goes through the 470 Ohm resistor to pin 1.  This triggers the relay to change state to open circuit between pins 3 and 4 turning the sidelight off.  If you want the sidelight to temporarily dim, then connecting a 1KOhm resistor across pins 3 and 4 will allow limited current flow.

Again, note tiny relay with pin 2 soldered onto common earth

Heat shrink tidies it all up and prevents accidents

If your 120 has the later sidelight arrangement where its not a separate item, I believe the aperture for the front lens is considerably wider at around 1 and 5/8 inches (the chrome item above is less than 1 inch) so the assembly should just fit nicely straight through the front, once the original lamp holder is removed.

I would have to say that the finished product worked superbly.  The change to brilliant orange is so fast that your not aware the the sidelight has been extinguished and there is no way that anyone could mistake your intentions.  Fitting the 1K resistor would technically leave the side light on but I think its better without it.

Sidelight around three times brighter than original filament lamp
Photo makes indicator look yellow when its actually very bright orange / amber
The final part of the indicator upgrade is the fitting of a cheap but loud 90dB Piezo sounder.  With non self cancelling indicators this is a pretty essential item and guarantees that you'll never leave your indicators on by mistake.  Total cost for the front sidelight / indicator components - circa £40

Number Plates
The general consensus seems to be that the original number plates were most likely but not necessarily made by Ace.  Looking closely at the picture of my car when two weeks old, they do seem to look like Ace type cast aluminium numbers.  These are still available from Framptons and I opt to buy the individual numbers in order to make up my own plates, thus getting the plate dimensions exactly right.  This also saves me £80, but they are nevertheless expensive at £16.25 per number. 


Easy solution to get the pin holes in exactly the right place
The numbers are arranged on a sheet of cardboard, the pressed down to leave a mark where the fixing pins go.  The cardboard was then stuck to a sheet of 2mm aluminium and the marks centre-popped. 


Plate ready for powder coating satin black
The Aluminium plate was then drilled to accept the number pins and the reverse side countersunk. The plates were sent off for powder coating satin black.  Rather than use the cir-clips provided, I reduced the pin lengths to 2.0mm, pressed the numbers in, then epoxyed the pins into the countersunk holes.  This made the backs of the plates flush allowing them to be fastened flat to the number plate pressing.  I also sealed the plate to the pressing with a thin rubber strip to prevent water ingress between the two.

Numbers should possibly be little less shiny - time will sort

Front end almost finished


Miscellany
Two events since my last post.  The first being a track day at Croft racing circuit.  Feeling guilty about neglecting my frog-eye sprite, I spent some time giving it a general service and sort out and on the day it repaid me in spades having no trouble seeing off several TR's and even a modern MGF.  (See post 21 - January 2012 to find out how this could be).  Great weather for a change and a truly brilliant day which everyone enjoyed, even Nick who was black flagged on every session in his new Audi RS3.  Your 66 Nick, (or is it 67) and I really think its about time you started to take some responsibility for your actions.

Frog-eye punching well above it's weight

Porsche 911 - probably slip-streaming to gain an advantage
 Stratstones, the local Jag dealers made an appearance with a new F type during the lunchtime break and as we had a couple of C types, a D type and a few E types already present, it was a great photo opportunity.  The best shot I got was of them coming out of the hairpin onto the pit straight about 150 yards distant. Great composition but crap quality.

CDEF - Possibly a photographic first?

The second event turned out rather less memorable.
I volunteered to spend the day marshaling for the Jaguar Drivers Club annual rally last Saturday.  This event had previously been organised and run by the same man for quite a number of years and I suspect that for some regular entrants, this was the extent of their world as far as rallying goes.  For whatever reason, possibly because it was held in the North East, a new organiser was brought in.  His brief was to put together a navigation / regularity event based on MSA regulations and licences and that is precisely what he did.  Unfortunately, the gap between the expected event and previous experience of the competitors and the delivered event strictly in line with MSA regs was rather large.  The new organisers not unreasonably assumed that the competitors were all seasoned and consummate enthusiasts whereas at least half were simply out for a pleasant Saturday afternoon sociable drive through Wensleydale.  The best that can be said is that both organisers and competitors were equally unimpressed with each other.
The day was not helped by wind and rain spoiling the magnificent views on route.  Additionally, the lunch stop at a Wensleydale Hotel further wound up the already exasperated  assembly by charging a tenner a head for a mediocre bowl of soup and a Sandwich.  By the time we got in from the rain after arranging the parking of the 45 cars, the soup was barely warm and the sandwiches had all been eaten. Worst of all, I had left my carefully prepared Mrs E's finest home made soup and ham sandwiches behind after the promise of a good buffet lunch at said eatery. 


Thursday, 2 May 2013

POST 54 - MAY 2013 - LED SIDE LIGHTS, INDICATORS & BRAKE LIGHTS

At the beginning of February I spent some time looking at incorporating LED indicators into the front and rear side lights. Realising I would be pressed for time to meet the agreed date to send the car to the trimmers, I put this on the back burner after finalising the design for the rear lights and making a prototype which seemed to work pretty well. -  (Post 48)
The available space within the front side light was very limited and a solution using individual LED's (based around the rear light design) proved unsatisfactory.  To resolve the space issue, I carefully removed the lamp holder from the lens assembly.  This effectively gave me an empty side light housing to play with.


So, time for a re-think.  Fortuitously, friend Nick dropped in to use the facilities to fettle an amateur radio aerial, and we got chatting about the indicator project.  Nick has an amazing knowledge of all things technical and electrical in particular.  Consequently, pre-wikipedia, "Nick-L-Know" was the standard response to most technical queries. 


Nick Peckett   AKA Peckett of Kabul

Nick has spent the final third of his working life developing the mobile phone network in Afghanistan, his company initially working for the Taliban, then after 9/11 for the first commercial Afghan Celular /Internet operator.  This unusual and rather dangerous occupation took him all over Afghanistan but as the local populous, regardless of allegiance quite liked the idea of making phone calls, he was generally welcomed in even the most hostile of places.  So what did 'Peckett of Kabul' suggest :

"Why not just take a conventional forward facing super bright LED bulb, stick it to a short length of orange plastic tube and wrap the tube in silver foil to stop the light escaping.  This can sit inside the side light housing along with another LED / clear plastic tube for the sidelight".  Simple.

11mm OD plastic tubes bought from ebay

The initial result was not encouraging with the tube seeming to attenuate the light significantly.  Polishing the ends (as we do with fibre optic cables for RF transmissions)  completely resolved this allowing the full intensity of the bulb to shine through.
 
ends polished up on fine emery paper and chrome polish

Pre-assembly

A few turns of insulation tape (blue in the photo) nicely brings the OD of the tube up to that of the LED.  The LED is then joined up to the tube using a short length of heat shrink. As the indicator need to be brighter than the sidelight, I doubled up on the orange.

two orange indicator lights should differentiate them from single side light

They are wrapped together to form a triangular shaped package which fits snugly into the sidelight pod.  If I need to access them in future it will involve removing the light from the wing but assuming the LED's live up to their specified life of 50,000 hours, this really isn't going to be an issue.
 Not having B9AS lamp holders to hand, I soldered tails directly onto the bulbs.  This is quite a tricky operation, requiring just enough heat to flow the solder without melting whatever else is connected on the inside.
Albeit some time ago, years of fault finding down to component level, removing and replacing integrated circuits with tiny soldering Irons lets me get away with this, but it's very easy to get wrong and with the LED bulbs currently costing over a fiver, not really recommended.


Lash up to prove the principle - fits neatly into light pod

The tails are wrapped to form a three wire loom which goes through a sealing grommet in the wing and is terminated directly into the IP66 junction box. (First picture on Post 47)
This is all very much a 'lash up' to prove the principle and subject to it performing as required will be developed into a rather more professional looking package.


Side light - very bright even in fluorescent light / daylight


Indicator in twilight - surely unmissable


Flushed with success, I now turn my attention to the brake lights.  I've never liked the idea of them sharing a bulb with the sidelight.  During my 140 restoration I added a set of red LED's to the number plate / reverse light to provide an additional and separate brake light.  I still had some red LED's left over and it was relatively easy to make up a similar arrangement setting them in a large grommet which simply sits around the reverse light bulb.  To complete the set up I replaced the remaining bulbs with LED's


Brake light added to the reverse / number plate light - all LED's


Just the job

Miscellany
On my 'to do' list for a few years now has been the design and manufacture of a camping type chair that doesn't take up a chunk of space in an XK's limited boot / trunk.
Every once in a while, I've searched ebay for just such an item, half hoping that someone had invented it already to save me the trouble and half hoping they hadn't.  In reality, an ambition too far that I was content to live with rather than do something about.
With the rally season about to start and my existing space consuming camping chairs on their last legs so to speak, I had another look and their it was.  Made by Australian company Helinox, it weighs 836 grams and more importantly folds up into something approaching the size of a shoe box.  I bought a couple of them and they are quick and easy to assemble and very comfortable if a little wobbly.  With a capacity of 145Kg, even my portly frame only takes up 65% of the design max so it should be OK.


Helinox Chair 1 


Next post mid May