Tuesday 18 June 2013

POST 57 - JUNE 2013 - APPEARS TO BE FINISHED

When I started this project in April 2011, it seemed perfectly normal to spend some time estimating how long it would take and then to extrapolate a finish / completion date.  After all, that is exactly what I had done for numerous work related projects for the past twenty odd years.
Having fully retired at the end of January and with goodness knows how many potentially empty days ahead of me, it now seems like not such a good idea.  But I had made a point over the past couple of years that completion was scheduled for my 65th birthday on June 16th this year.  In addition to this, I now have a firm date of July 4th to get the car down to Poole in Dorset to meet up with it's first owner, Vernon Maitland.  This is such a incredibly rare opportunity that it must not be missed at any cost, so the last couple of weeks have been hectic.

Start and finish dates with schedule and reminders in between
The door gaps had been set up about a year ago, first with the body on a jig / frame then with it on the chassis on axle stands.  After a short run up and down the estate road it was clear that it had settled from those initial positions and the gaps had closed a little .  Putting it back on axle stands, each pair intentionally well in from the wheels, the door gaps were again correct, or even a little wider than required.

Door gap with chassis on axle stands well in from wheels

and with car back on it's wheels
I had already had the maiden voyage planned as a short trip of around ten miles to Autob-bodycraft to resolve the problem of the damage caused when I fitted the windscreen, so a re-shimming exercise was added to the list to correct the door gap issue.

The only other items to be sorted before the inaugural trip were the windscreen wipers and security bonnet catch.  I had pondered the possibility of a leather bonnet strap but was undecided about how they look.  One thing is certain though, with a strap over the front, there is absolutely no chance of the bonnet misbehaving so pragmatism wins out.  I order one from Guy Broads; its the type with two buckles which means that if you undo them both, you don't have the problem of the metal bits scratching the paint.  I'm also told that they are lined with soft Elk Skin which is less likely to scuff. Really?


With the central bit removed - no buckles to scratch paint
The car actually came with a pair of wiper arms and blades but the way the blades were attached to the arms was unusual and certainly not as original, but the arms looked to be of super quality and stainless so worth using if at all possible.  Fortunately I have an arm off my 140 as a pattern for the spoon bit that slips into the blade.  I manage to remove the strange clip affair which leaves a dimensionally correct straight end that just needs bending to the correct shape.  After heating to cherry red its bent round an old socket and after a bit of tapping about it looks pretty good and slips into the blade just as it should. 

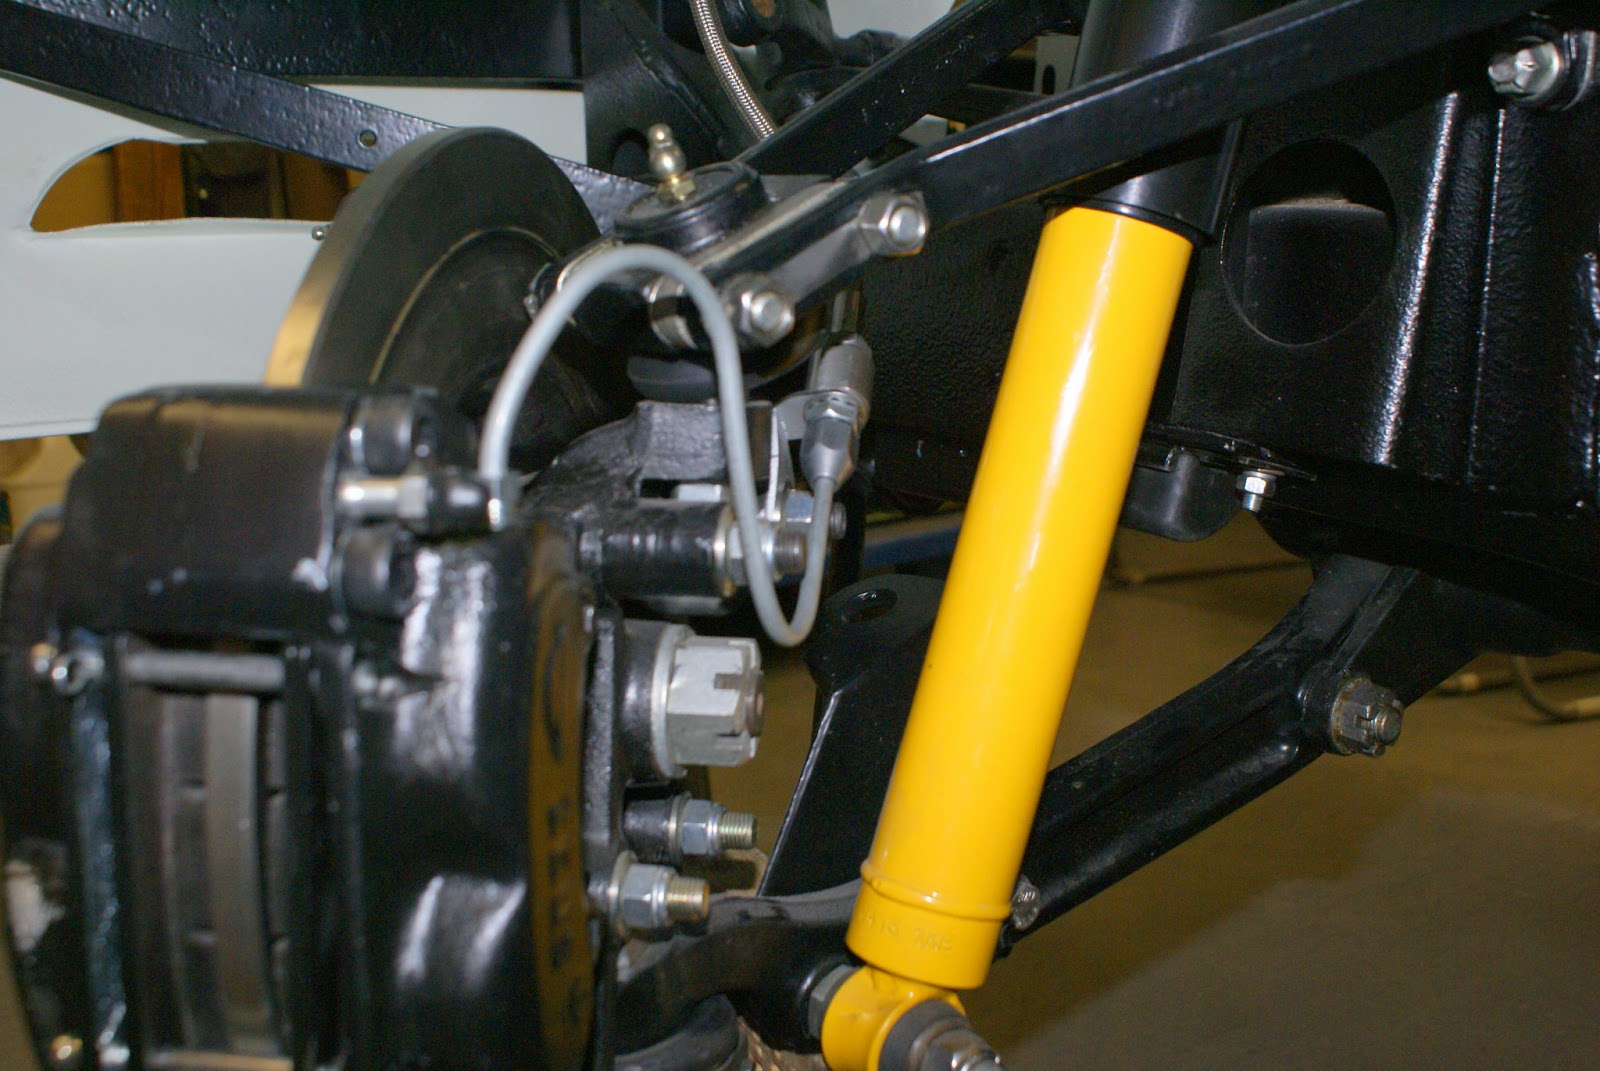
140 arm end          120 pre mod              120 post mod
 After a few more very short runs I felt sufficiently confident to go for it, but only with my Audi following, full of tools and various get you home odds and ends.  I can remember every single first outing I've made with cars I've restored in the past and in particular driving a Morgan rolling chassis from Faceby to Stokesley (about 7 miles).  The seat was an orange box and it went and stopped but that was all.  To avoid capture by the local constabulary the journey was undertaken at round 6.00am in summer.  This felt very similar but it looked a good deal more legal.
Its always a bit scary to think of the great number of fasteners that have been removed and re-fitted knowing that some are crucial to the avoidance of pain and expense and it usually takes 500 or so miles before I start to relax and stop listening for unusual noises.
Anyway, the first 10 mile trip went very well except that half way the heavens opened.  With no hood or tonneau all I could do was to stop and take off my coat to cover the passenger seat.  (what greater love etc.)  Once moving again most of the rain went straight over the top so no great problem; a good test for the wipers which worked tolerably well.
Once at Auto-Bodycraft, the door gaps were easily sorted, and Alex came up with a solution for the nasty bit of damage I had incurred when fitting the windscreen.


A great deal of debate went into what should be done about this.  Alex wanted to repaint the whole front of the car but I wanted a very small localised repair.  This he politely refused to do saying it would always show, especially after some time.  The compromise solution was a 'patch'.


Note colour coded ground plane for DAB aerial
Now I know this sounds a little odd but it totally works, simply because, apart from it being hardly noticeable, it looks as though it should be there.  Why is it only on one side - well since you ask, actually its the ground plane part of the DAB aerial, carefully colour matched - well it could be!  I have no doubt that at some time in the future I will find a few more reasons to re-paint the front; then it can be sorted to Alex's entire satisfaction.


A great number of other small jobs including the fitting of a  tonneau cover from Aldridge Trimming occupy the remaining week which takes me nicely up to Saturday 15th June. This was always planned as it's very first show outing, I know it's a day earlier than the scheduled finish date but what the hell.  This Classic Car show is in my home town of Stokesley and less than a mile from home which even meant that I could pop back and bring the 140 along for company.

And I said I would never take it out in the rain!

So, more or less cosmetically finished, but I still have a huge list of jobs to complete before the trip to Poole.

Miscellany
You may remember that last year we did the Beamish Run in the 140, a 144 mile trial over some fairly testing moorland roads for pre 1955 cars.  It was a great day, especially as we were the overall winners out of 150 cars.  'We' in this case included passenger and friend Tony Firth who was solely responsible for our victory.  In the 140 again this year, alas Tony could not join me as he is recovering from an operation.  The results aren't out yet but I would guess that without Tony, it'll be only slightly better than a DNF.  Get well soon mate.

The following pictures were taken during the lunch stop at Bainbridge, North Yorkshire with the cars and bikes assembled on the village green


Next post early July


Sunday 2 June 2013

POST 56 - JUNE 2013

 It must be almost a year or so since I almost completed the braking system, when due to a series of not quite correct parts being supplied with the front disc brake conversion kit, I became so frustrated with it that I abandoned it and moved on to other things.  Very conscious that sooner or later I would have to sort it, I dug out the various pipes, converters, brackets and unions that had caused me so much hassle. Clearly in the intervening year, the supplier must have driven north, broken into my workshop and swapped the offending parts for the correct ones because after a bit more head scratching I managed to more or less figure out the assembly sequence of the pipework from the chassis lug to the calliper.


Flexible pipe from chassis lug to bracket - Just look at that dust!

And solid pipe - bracket to calliper.   Really should paint shocker black
 I also swapped out the nyloc nuts initially used to fasten the discs to the hubs, for the all metal lock nuts eventually supplied with the kit.  With the system now fully assembled, I went around every union and checked for tightness before filling with brake fluid.

Brake Fluid - now there's a subject guaranteed to to start a fight at an otherwise polite meeting of mild mannered Jaguar Drivers Club members.  Silicone, Glycol, DOT 3, 4, 5, 5.1 Soft pedals, swollen seals, damaged paint work, the list of complaints and opinions goes on and on.  Having used both types over the years, with and without problems, I considered it worth the effort to spend some time researching this and eventually found what I consider to be the definitive article on the subject.
http://www.mossmotors.com/forum/forums/26292/ShowThread.aspx 
To summarise, it seems that Silicone is best in classics, especially if its an all new / re-built system with no Glycol residue to mix with.  An additional benefit and very important to me is silicone's inability to ruin a nice paint job.  So Silicone it is.

With half a litre of fluid in the glass reservoir I started by bleeding the front off side simply because I could pump the brake pedal lever by hand.  A few gentle strokes and  a minute or so later I had puddles of various sizes under almost every union.  It took a great deal of time and effort to sort this as I am wary of over tightening hydraulic fittings so just kept nipping them up a little at a time.  It would have been possible and so much easier to completely sort the breaking system at rolling chassis stage.


How on earth do you fit the Oil pressure / water temperature gauge.  I thought the 140 was difficult, but this is nigh on impossible.  The gauge must be fitted in the instrument panel and the solid oil pipe must be attached prior to attaching the instrument panel to the main dash board.  The arrangement is naff and does not lend itself to maintenance in the event of a future electrical problem behind the dash.  Also the water temperature pipe whilst thinner and more flexible is a permanent fixture to the gauge and it would take very little to damage it.  There are times when originality must be sacrificed, so Cleveland Flexible Engineering to the rescue again.  This is a fantastic operation more used to making up huge hydraulic pipes for heavy plant, but very happy and immensely helpful with smaller jobs. 

Flexible pipe to replace solid oil pressure gauge feed pipe.
Unfortunately it turned out to be a little more complicated.  I had checked the unions threads with a 3/8 UNF bolt which seemed fine. (same as the brake pipes)  On trying to attach the new pipe to the gauge it went tight after a few turns.  Checking out the male connectors on the filter and the gauge they are 3/8 but as near as I can ascertain SEI - 28 TPI (Standard English Invent-a-thread ???), not UNF 24TPI. Back to Cleveland Flexible who make up a couple of stub pipe converters.  This works out beautifully with the joint easily accessible from under the dashboard.

Stub pipe on oil pressure gauge - now accessible
Alex and Niel, the bodywork guys called in and gave me a hand to do an initial fit up of the boot lid and bonnet.  The plan is to actually drive the car to their workshop at the end of this week (6th June) where they will fine tune the fit of the hinged bits and also repair the damage I did when fitting the windscreen.  That leaves me a week to sort out a myriad of small jobs before its inaugural outing to my local Classic Car show at Stokesley on June 15th.  I then have just over two weeks to ensure it's fit enough to drive down to Poole on July 3rd to meet up with first it's first owner. 

Initial fit of bonnet - superb


Miscellany
I have two cars insured with Lancaster, my 140 and my Frog-eye sprite, both due for renewal at the beginning of June.  Lancaster are currently plugging Multi-Car policies for classics, so given that the 120 should be on the road in June, that looked like an ideal solution.  My Frog-eye cover is £121.25 and the 140 is £194.51 both including agreed valuations and the usual Legal Benefits scam at £25 a go with the classic get out clause "There must be a greater than 50% chance of recovering damages" - guess who decides that - certainly not me.  Anyway, I digress.
Reasonably assuming the 120 will be the same as the 140, insuring each car separately would give a total cost of say £440.  Quite a lot considering restricted mileages and the fact that I can only drive one at a time.  But this is where I'm bound to score with a Multi-Car policy with some handy discounts for the second and third cars.  Quotation - an embarrassing (for the poor sod who had to call me) £761.00.  But - as Jeremy Clarkson would say - it gets worse.
Obviously, the solution is to insure the 120 separately so I contact Lancaster again and ask them to quote for just that car.  No problem sir -  £960.67p.  Surely some mistake I say.  No sir that's the quote from our underwriters and is final.  OK I say, "I can insure one car for £960.67, two for £315.76 or three for £761.00.  He eventfully and very reluctantly agrees to go back to the underwriter and query it with a promise to call me back the following day.  I can honestly say that Lancaster have promised to call me back on at least six occasions and never ever have. A record that remains unblemished.
Checking with a few friends, Haggerty is recommended.  Literally fifteen minutes later I,m printing off the 120's Certificate of Insurance £276 lighter.  It could not have been easier, and the documentation produced could be a lesson in clarity to the industry.
Registration document and Insurance in hand and with no MOT or payment required, the local Post Office hands over the 120's first tax disc for forty eight years years.  Just need some brakes and lights now. (only joking)
 

The last time it was taxed was in December 1965 at a cost of Six Pounds Eight Shillings which I think would be for four months.

Almost 48 years since it's last tax disc.